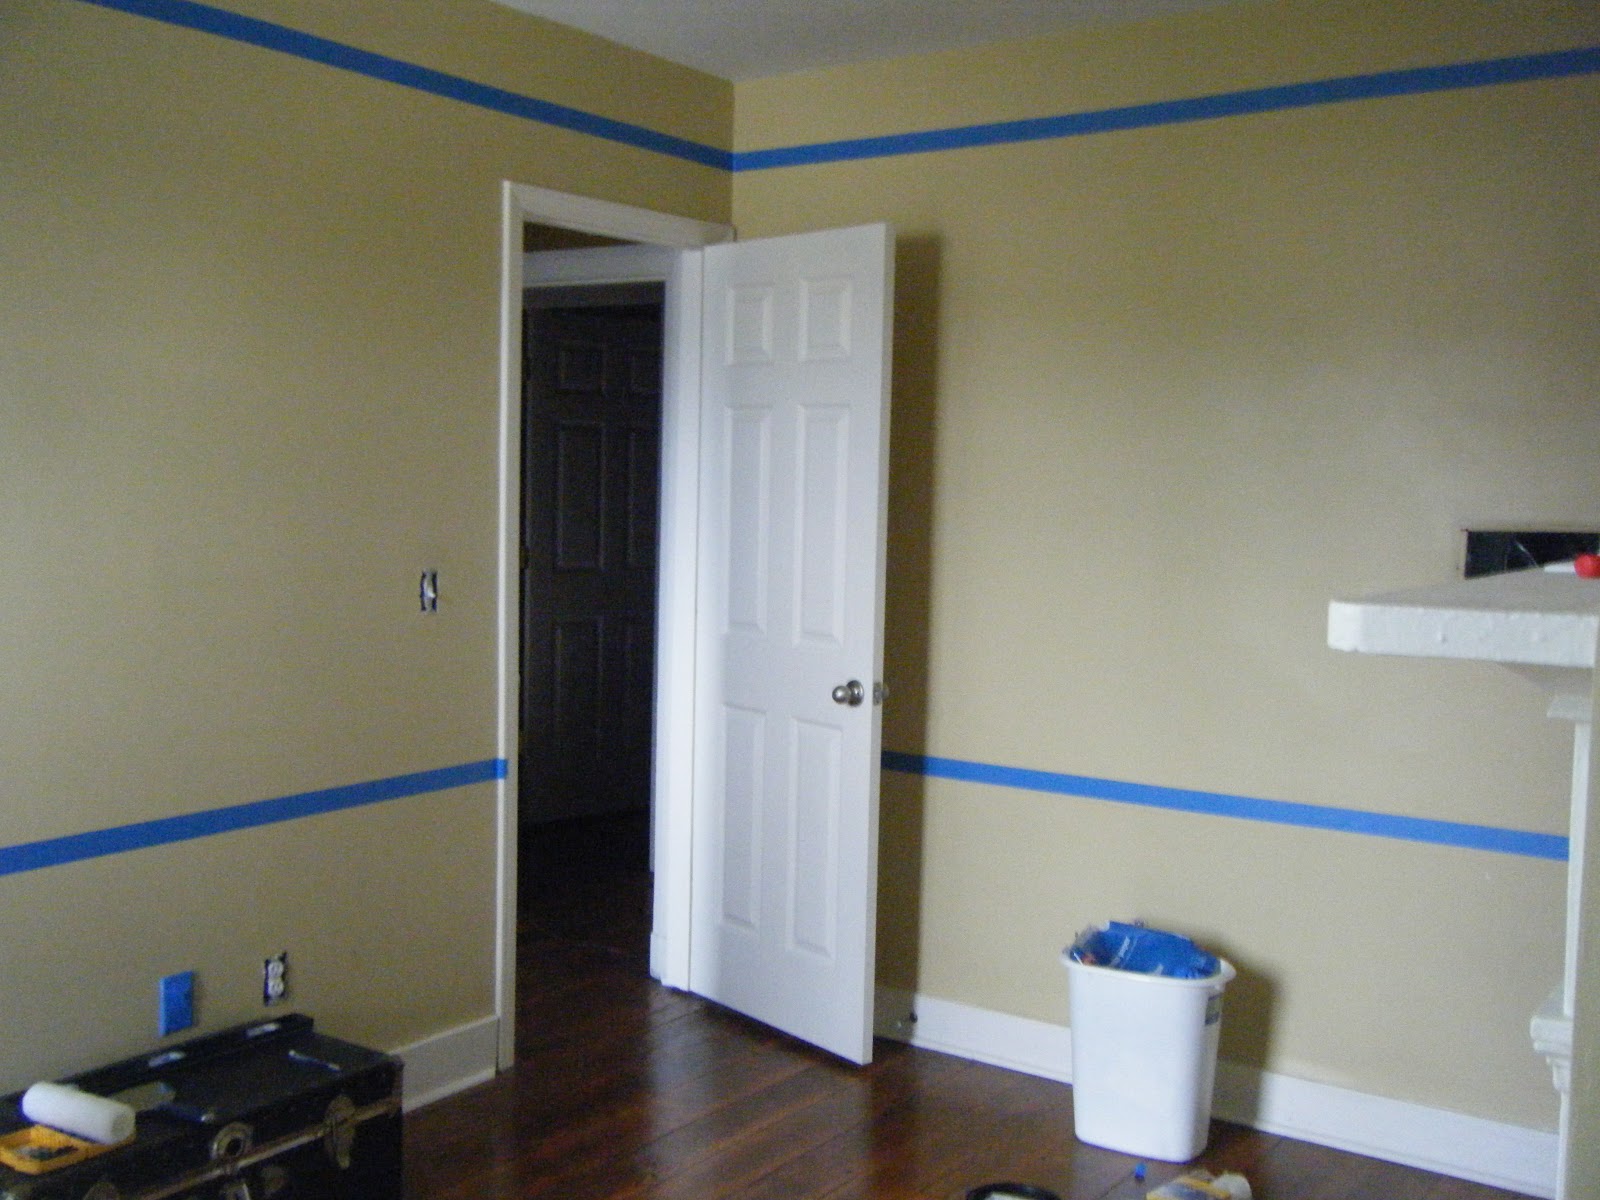
My wonderful husband finish the nursery and it looks awesome! Here is how it looked when it was a guest room 3.5 years ago:
Here is the same area of the room but now a nursery:
My husband refinished an antique dresser and we added a convertible crib & an awesome chair from IKEA to the room
Showing posts with label DIY. Show all posts
Friday, June 15, 2012
Monday, May 28, 2012
Kitchen Organization
I am in the beginning phases of nesting and decided to tackle our kitchen. I have to see things in order to remember them so our fridge has become a catch-all. My hubby gripes about the mess I create so I decided to do something about it.
I did some research on various blogs and created a hybrid of what I found.
BEFORE AFTER
I did some research on various blogs and created a hybrid of what I found.
It is a work in progress but a vast improvement!!!
Sunday, May 27, 2012
Nursery - Phase 1
My wonderful husband has been hard at work transforming our guest room into the nursery. He chose the paint colors and has a design in his mind. Our neighbor is helping close off the closet so that little hands will not disrupt our heating/cooling system.
Step 1 - painting over the tannish yellow color
Step 2 - adding the darker brown to the top and bottom of the walls
Step 3 - Painting the dresser
Step 4 - ????
Step 1 - painting over the tannish yellow color
Step 3 - Painting the dresser
Step 4 - ????
Tuesday, October 5, 2010
Rehearsal Dinner
As tradition, we are having a rehearsal and dinner the night before the ceremony. We will meet at the Lanier Mansion and go through the ceremony. I am leery because my dad is the minister and a dear friend of ours, Mike L., is helping out. They are in cahoots with each other and have something in the works. As long as I do not bawl during my wedding, I am cool with their plan.

We are hosting the rehearsal dinner at the historic Feed Mill owned by another good friend.
Our former co-workers at Hanover, Dave and Carol are taking care of the meal. My mom made the table centerpieces.
She got the idea from a wedding she went to about a month ago. It consists of foam box covered with paper and monogramed with a "G". There are crazy sticks stuck in the foam with paper and pictures attached to the ends.
Sunday, October 3, 2010
Candles - Memorial & Unity
If you haven't caught on, I have DIY-ed everything I could. I used the internet and research unity candles - pre-made packages as well as DIY. I found that pre-made Unity candles were quite pricey and I was not willing to dish out that much money for something that will be used for such a short time period.
I decided to buy a pillar candle and two tapered candles as well as candle holders. Since we are having an outdoor ceremony, I needed to figure out a method to keep the candles lit.
I went to a wedding a few weeks ago and loved the monogram design on their unity candle so I decided to use the same monogram as our programs for the unity candle. Online I had seen many sites about attaching the monogram using straight pins.....that is easier said than done. It is difficult to push pins through wax as well as to keep them straight or in some sort of pattern.
Therefore I decided to simply keep it as a simple square and attach the monogram with scrapbook tape and beautify it with ribbon.
In regards to the Memorial Candle, I really wanted to order a personalized vase but then I was unsure what would become of that vase after the wedding. I knew one of our mothers would have taken it, but then who do you decide gets to take it!?! So I decided to buy a generic vase to protect the candle and created an image to attach to the candle.
I found a memorial candle template online that I really liked and modified to include our relatives and their dates. I would imagine Nate and I will keep it for our home and burn in. I am going to have a friend move it from the ceremony site to the reception site and place it on the same table as the guest book.
I was pretty proud of my accomplishments, though as a man, Nate was unimpressed!
Friday, October 1, 2010
Wedding Programs
The intention of this blog was to share what I was doing and get some feedback. Intentions are like elbows, everyone has them. I got busy with work and wedding things, so I am posting after the fact.
Being a DIY-er, I made the wedding programs with the assistance of my dear friend JoJo. I ordered more paper from http://www.paperandmore.com/, ordering a metallic pearl lightweight paper and brown cardstock. Again, my mom and I married ideas together for the program. It consists of the brown cardstock background and five pages of information - a title page, memory page, thank you page, order of ceremony, and wedding party.
I printed everything at home and cut it using my handy scrapbook cutter.
I then used a single hole puncher and punched two holes at the top of each page, doing my best to line up the holes. (If you ask JoJo, I didnt a horrible job.) We then assembled the pages together and fed a ribbon through the holes and neatly tied it together.
We ended up making about 110 programs, using both brown and blue ribbon.
Sunday, July 25, 2010
DIY Bride
So I am a teacher with the entire summer off, I am cheap, and I like to be crafty at times. After searching numerous websites for invitations, I decided it would be cheaper to make them myself.
I found cardstock for less than 10 cents a piece at Papers and More. The company sent me the wrong order and to resolve it, they allowed me to keep the order plus sent mine. The wrong order contained ivory card stock and ivory vellum paper cut in half, which was quite useful when making invitations.
My mom and I were inspired by invitations I received in the past and hoped
to create a chocolate brown invitation with white wording and two ribbons. Unfortunately one cannot print in white ink on their own and Staples is no help either. I finally decided to print on the blue paper and glue it to the brown.
My order finally arrived and I made a sample invitation. I made inserts to include a map, hotel accomodations, registry information, rain site info, and a RSVP postcard. My mom did not like how the invitation inserts where floating around the envelope so we compromised and made a pocket for our invitation.
I cut the brown cardstock in half and folded one end up about 1 inch. I used a glue gun to seal the pocket edges.

I then printed the invitation working onto the blue cardstock and cut out the pieces. I had an invitation (& Margarita) party with some friends and we assembled the invitations.
I then used the vellum paper to create a barrier in the envelopes because we only used one envelope instead of the traditional two (I wanted to save trees and money). I also included an engagement picture in most of the invitations. A few people did not get one because I ran out and others didn't get one because they are single guys who wouldn't appreciate the picture.
TOTAL cost of making and mailing 113 invitations = $325.63, that is about $2.88 per invitation with postage, plus I have enough supplies to probably make 87 more invitations.
I found cardstock for less than 10 cents a piece at Papers and More. The company sent me the wrong order and to resolve it, they allowed me to keep the order plus sent mine. The wrong order contained ivory card stock and ivory vellum paper cut in half, which was quite useful when making invitations.
My mom and I were inspired by invitations I received in the past and hoped
My order finally arrived and I made a sample invitation. I made inserts to include a map, hotel accomodations, registry information, rain site info, and a RSVP postcard. My mom did not like how the invitation inserts where floating around the envelope so we compromised and made a pocket for our invitation.
I cut the brown cardstock in half and folded one end up about 1 inch. I used a glue gun to seal the pocket edges.
I then printed the invitation working onto the blue cardstock and cut out the pieces. I had an invitation (& Margarita) party with some friends and we assembled the invitations.
I then used the vellum paper to create a barrier in the envelopes because we only used one envelope instead of the traditional two (I wanted to save trees and money). I also included an engagement picture in most of the invitations. A few people did not get one because I ran out and others didn't get one because they are single guys who wouldn't appreciate the picture.
TOTAL cost of making and mailing 113 invitations = $325.63, that is about $2.88 per invitation with postage, plus I have enough supplies to probably make 87 more invitations.
- Envelopes = $34.22 - cream greeting card envelopes at Staples (200)
- Invitation paper = $31.97 - plus that free order of paper
- Invitation supplies = $120.96 - paper cutter, glue, glue dots, ribbon, scrapbooking things (many of which have future uses.
- RSVP Postcards = $13.13 - one batch (100) that was used and another (100) that was too dark to write on
- Address stamp = $24.85
- Postage = 92.15
Subscribe to:
Posts (Atom)